Event Confirmation Email
Looking to have a confirmation email go out to your event registrants?
Follow these steps:
1. Click "Communications"
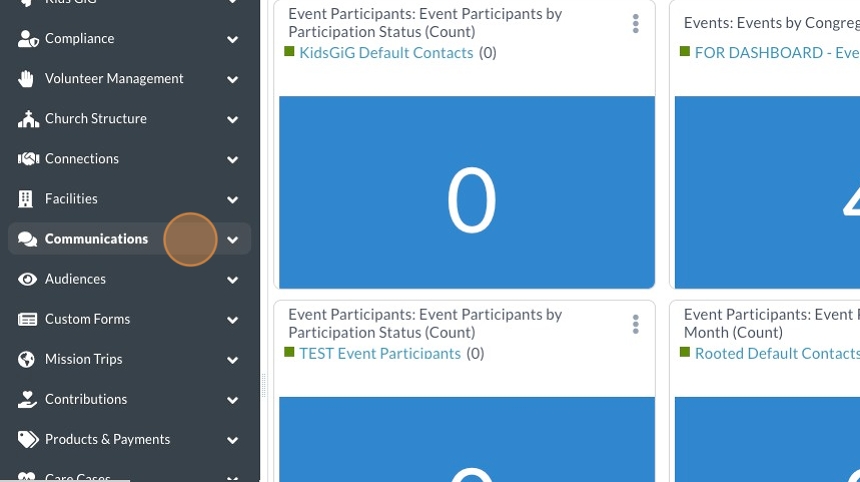
2. Click "Templates"

3. Click "Tools"
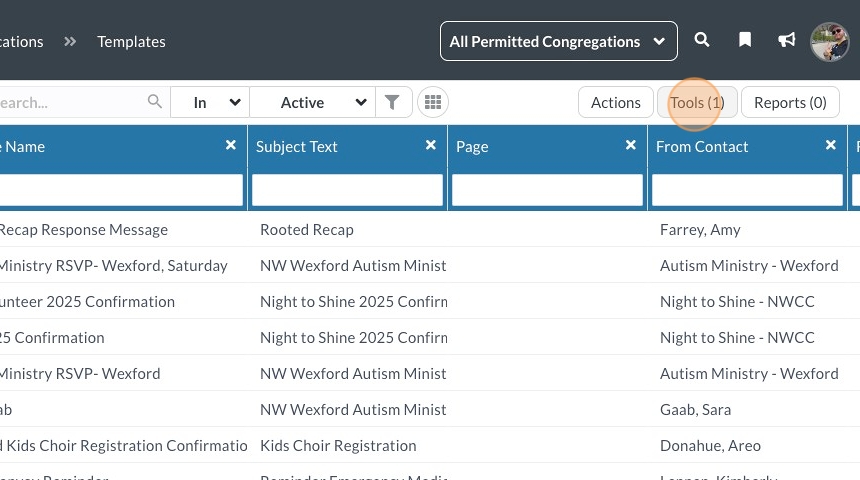
4. Click "Template Editor"

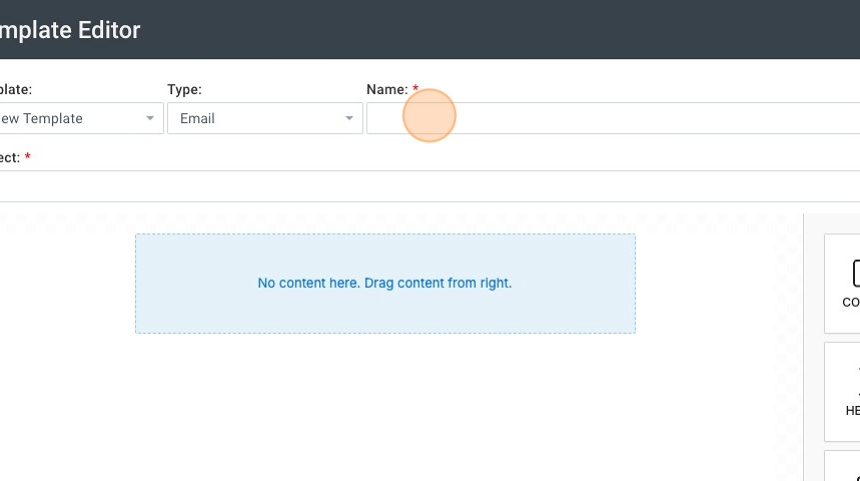
5. Name your template
Pro Tip: (add the year if this is for an event)
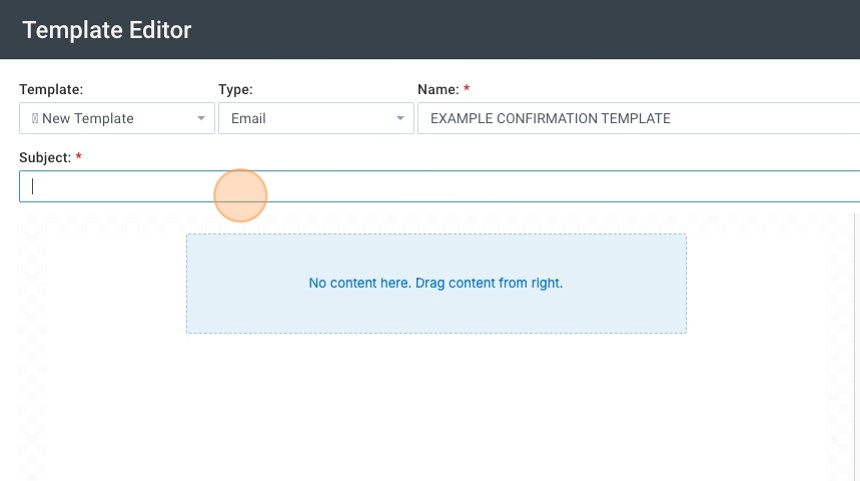
6. Enter your subject line
7. Drag and drop the image block to add a header
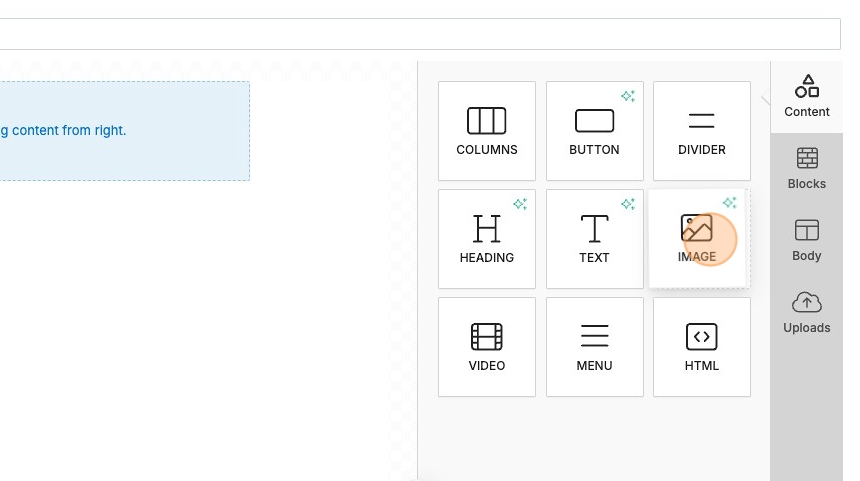
8. Upload an image as your header

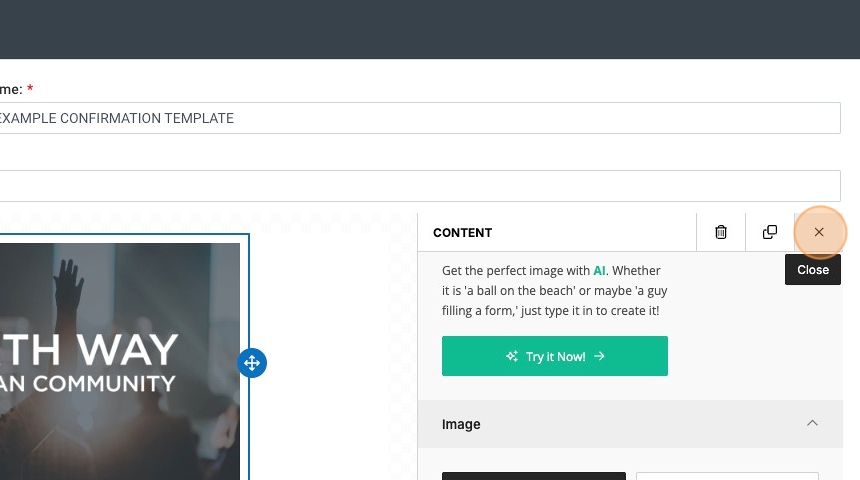
9. If you've made templates before, you can use previously uploaded images by clicking "more images"

10. Close out when you're done adding your image
11. Drag and drop a text block onto your email
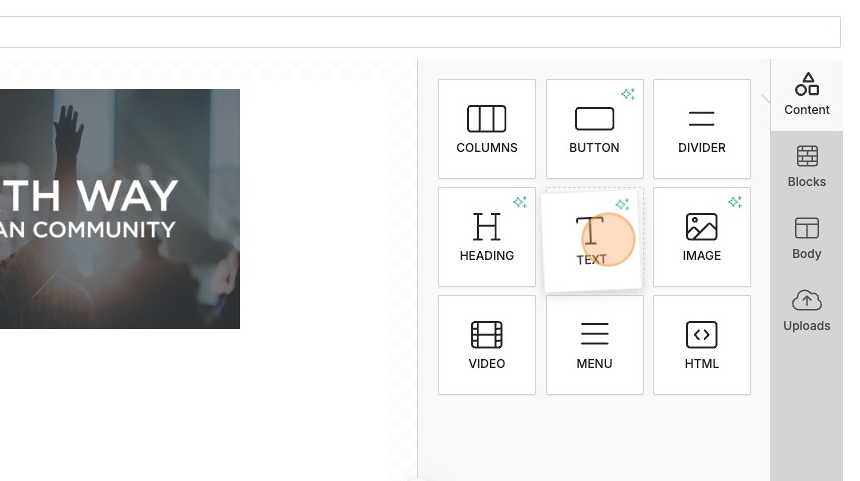
12. Type in your confirmation message

13. Personalize your email by inserting the nickname field to auto-fill with your recipients nickname from MP

14. Close out when you're done to add other items to your message

15. Select the contact you want the message to come from

16. Set the contact you want email replies to go to (this can be different than the FROM contact)

17. Save and close your template

18. Go to the events page and find your event
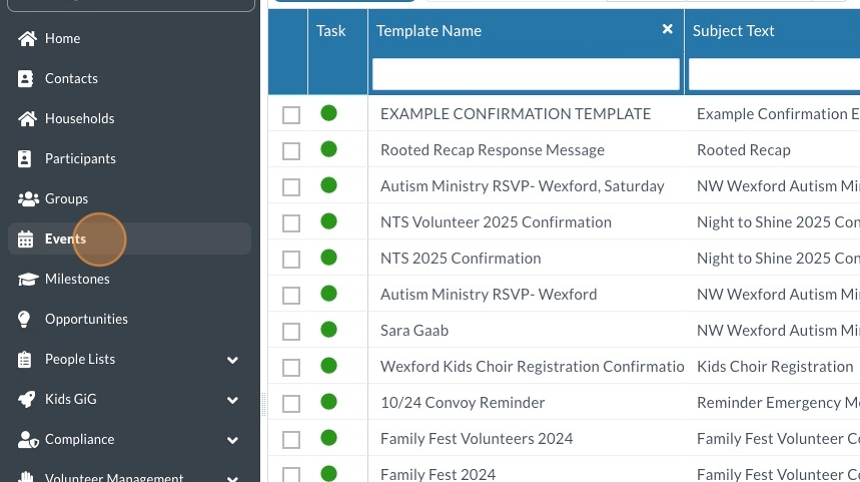
19. Click "Edit Record"

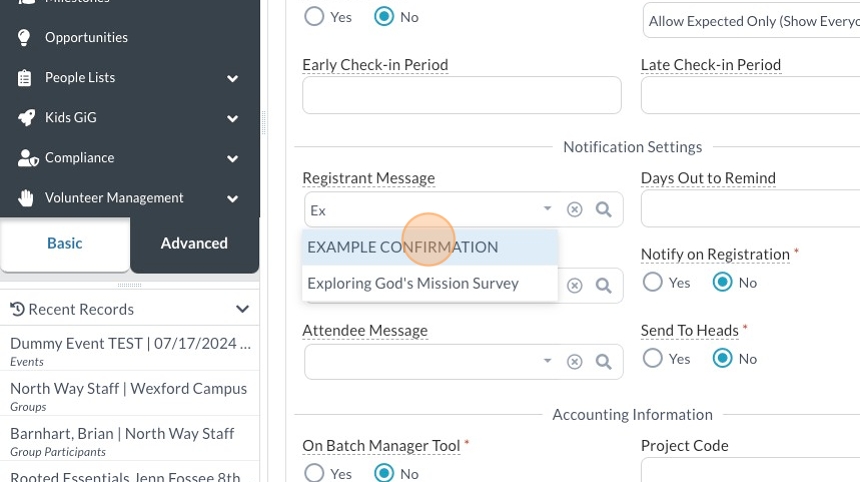
20. Click "Registrant Message"

21. Search for your template by either typing in the field, or clicking the magnifying glass
22. Click "Save"

Optional: Reminder Message
Tip: To send out an additional reminder message, build a template and put it in the “Optional Reminder Message” field, and then put the number of days before the event you would want the email sent in the “Days Out to Remind” field.